Part 2 of my front-end development crash course.
- The slides
- Audio
- Project files
- My project solution
- Go to part 1 (The what and why of programming)
- Go to part 3 (JS)
Welcome to my series on learning web development! I created this crash course series to help teach a group of mostly designers at my school about web development, especially on the front-end. This is the second lesson, the first that involves programming. You can check out the first post here.
If you want to follow around messing with code on your own, sites like CodePen are great for tinkering.
HTML
As the image asks, what is a web page? Give it some thought and come up with an answer in your own words before moving on.
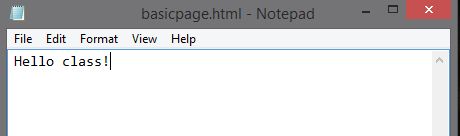
This is just some text in a text editor. I saved it as basicpage.html.
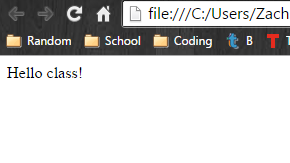
But if I right click the file in my file explorer and click “Open with” –> my favorite browser, I get this!
See, web pages are just documents like we covered last week! But unfortunately this isn’t technically a web page, it’s just a page.
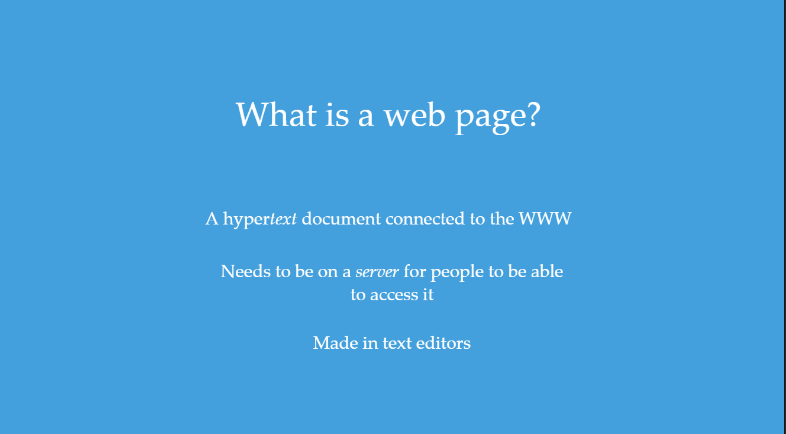
In order for it to be a web page, we need to host it on the web. To do so, we have to put it on some type of server where it is accessible via the web. We won’t cover all of the details of doing so in this post.
What does an actual web page look like?
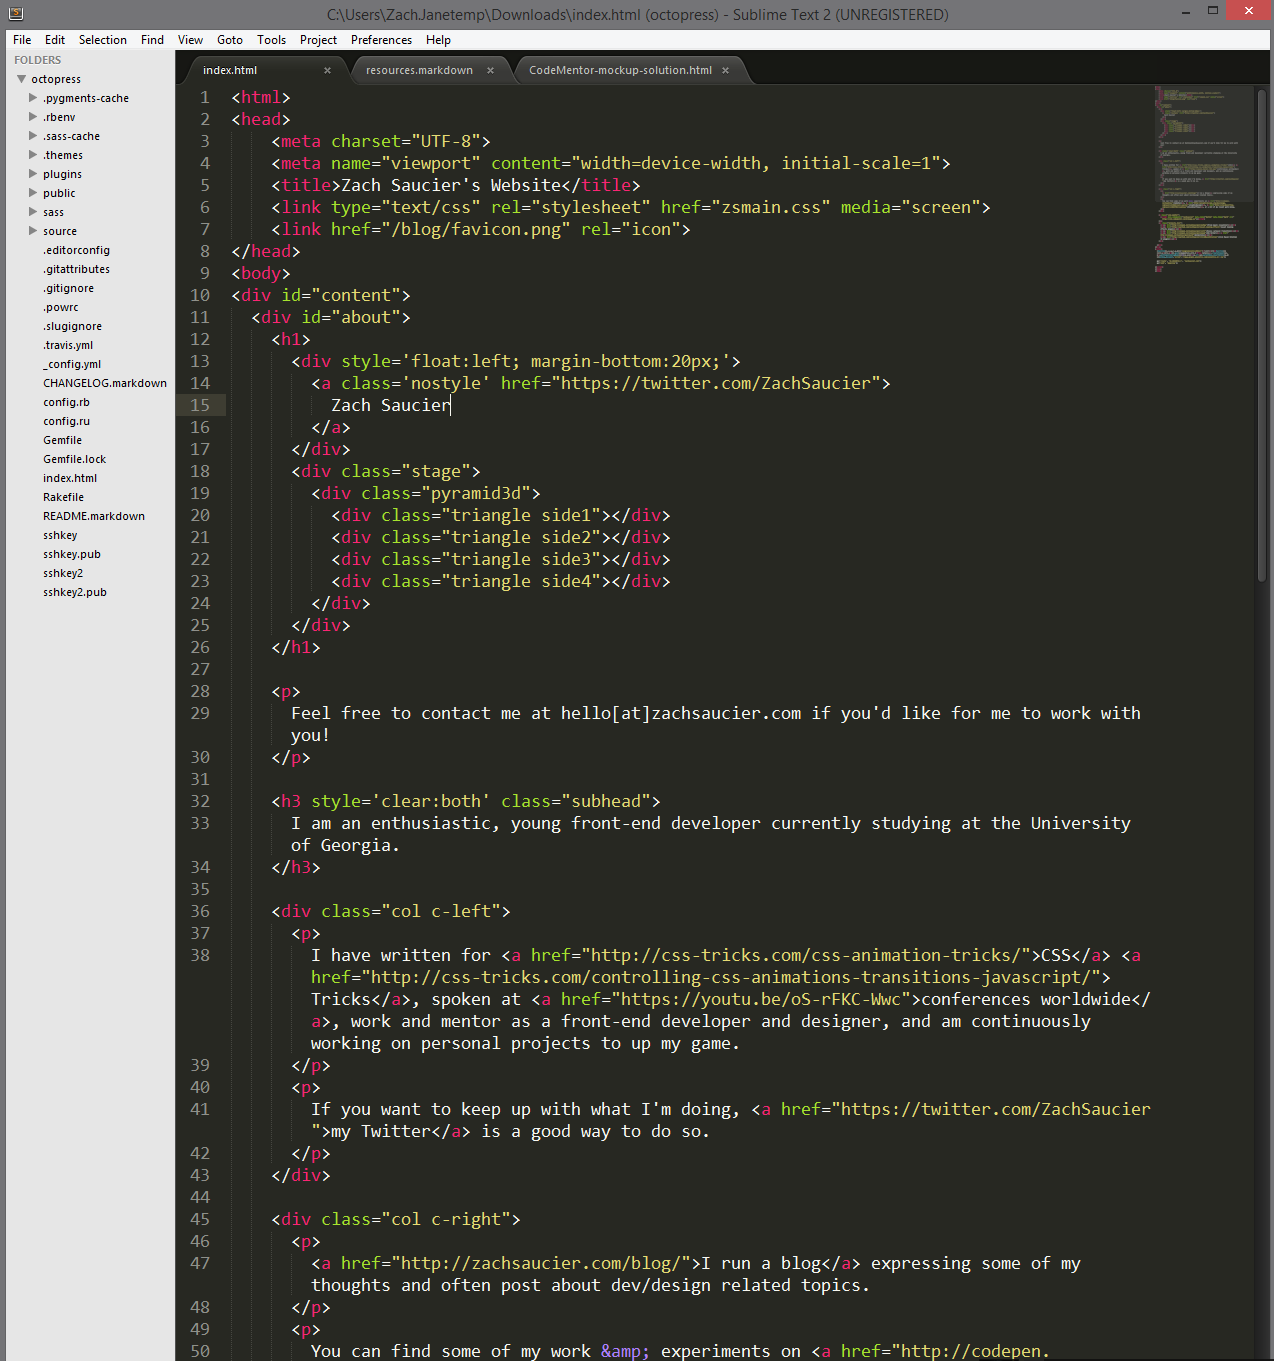
This is probably be a little overwhelming, huh? I just wanted you to have some sort of bigger picture before we dove in. By the end of this next section, you’ll be able to look at something like this and break it up into understandable chunks quite easily!
Let’s focus on a particular section for now:

The web has some terms to describe the code you see:
Elements are singular objects that compose all of the web. They may or may not have other elements inside of them (we’ll talk about this more shortly) including text.
Tags are the part of the text inside of < and >s. Every element has at least one, most elements have two – opening (starting) and closing (ending) tags. Opening tags use the form <tag> and closing tags use the form </tag> (notice the slash!).
Classes and IDs are used to specify certain elements. This will allow us to select (we’ll explain this more later) them in CSS and JavaScript (JS).
Attributes can be found inside of the opening tags of elements. They specify certain things about the element they are on. In the image above, id, class, style, and href are all attributes.
Comments are not actually rendered on a web page, but are there for developers to help explain parts of the code. Comments in HTML use the form <!-- Example text -->.
There are also some other terms to describe relationships among elements on a web page:
A container or parent is an element that encloses another before its end tag. Similarly, an element that is enclosed by another is called a child of that element. To visually show this relationship, HTML elements are usually indented when they are a child. The further deep (meaning number of nesting) we go, the more indentation there is. The term level describes the number of how deep an element is in reference to some other element.
Also, any element that has a start and end tag can have any number of children elements within it. The term siblings describes the relationship of elements that are on the same level.
In the image above, there are 5 total levels. If we look at the div that has the class side1, we can say it has 3 siblings, its direct parent has the class pyramid3d, and it’s grand parent has the class stage. If you really wanted to, you could even use similar terms like great uncle or aunt to describe the relation to other elements on the page.
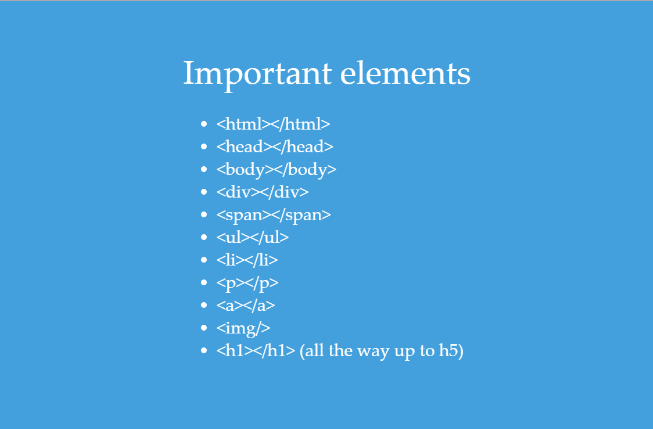
There are many important elements because each one serves a different purpose. Among the most important are the ones shown above. Many are self explanatory for their usage. All HTML pages should have an opening and closing <html> tag which contains all the rest of the elements. It should also have two direct children, <head> which is used for page information and <body> which is used for all of the actual content.
<div> stands for division and is used as a general container or separation.
<span> is much like <div> but is usually used to style specific sections of text.
<ul> stands for unordered list (yes, there is also an ordered list – I bet you can guess the tag!). Correspondingly, each child of a ul should be <li> elements, which stands for list item.
<p> stands for paragraphs. These elements can contain text or elements like <span>, <a> tags, or even <img/> (image) elements.
<a> stands for anchor. These are links (more formally called hyperlinks) which connect pages to one another when clicked.
The <h1> (all the way up to h5) elements are heading elements for pages or sections.
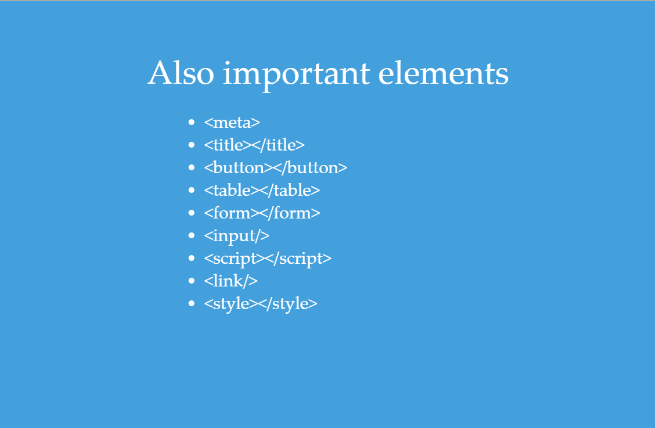
Some other important elements include <meta> which should be in the <head> and holds information about the page for browsers and search engines to use, <title> which should also be in the <head> and sets the text inside of a browser tab, <button> which is used for any on page clicking actions, <table> which is used to layout tabular (data) information, <form> which contains various types of <input>s to send some information to the server, <script> tags which is what JS goes in, <link/> which is in the head and pulls style and data from another URL, and <style> which is what the CSS may go in.
There are a whole lot more but the ones covered above are among the most common.
And now you know HTML! At least enough to start creating things and have a basic understanding when someone is talking about it.
Following the analogy I made last lesson, we’re now moving from the bones (HTML) to the flesh (CSS) of our web-body.
CSS
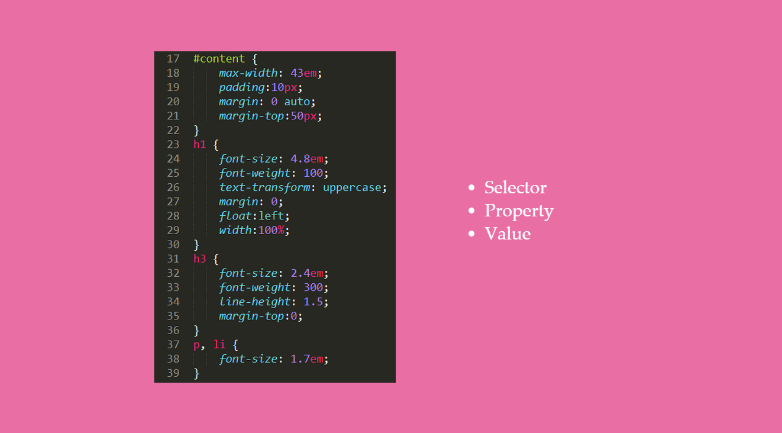
Don’t be overwhelmed by all of the funny looking words and such in the image above. Let’s just focus on three things about it for now:
Selectors are the parts before the opening brackets {. They select the corresponding elements in our HTML. The h1 you see selects any <h1> elements on our page. Similarly all of the other selectors match something in our HTML. You’ll notice that the top one has a number sign in front of it; we’ll explain that
in our next slide.
Properties are the part to the left of the colons : in each line. They determine a certain aspect of the element we want to change.
Values are the part to the right of the colons : in each line. They are what we want to change the property to. The possibilities of the value depend on the property selected.
Also notice that each line that has a property-value pair needs a semicolon at the end of it. This lets the processor know when we’re stopping one property-value pair and starting the next.
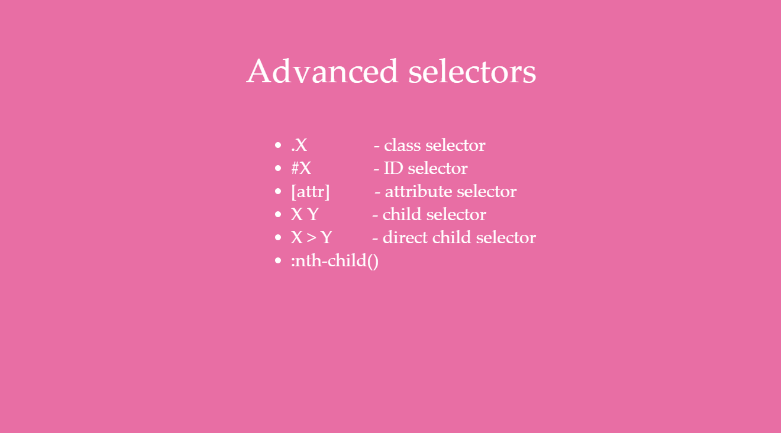
Selecting by tag names is not the only way we can select elements. Remember how we had classes and IDs to allow us to specify certain elements? We can use those as well as attributes and relationships between elements to select elements in our CSS.
The class selector is a singular dot directly before the class name. The ID selector is a number sign directly before the ID value. To select an element using the attribute, we surround it using brackets. With attributes we can select them in many different ways including selecting any attributes with a specified string of characters in a row.
As mentioned, we can also select elements using their relationship with other elements. The general child selector is space in between two other selectors. That means that if we do #someId .someClass { ... } we will select all elements that are children ofsomeId with a class of someClass regardless of how deep it is.
By using > instead, we can select only the direct children of an element, meaning the ones on the level directly under it.
We can also specify a certain element or group of elements using the :nth-child selector. For more on that read the Mozilla docs on
the subject.
Also note that it is currently impossible to select parents based on the children. This is because CSS it would put a lot of strain on the processor to go searching up the chain of elements.
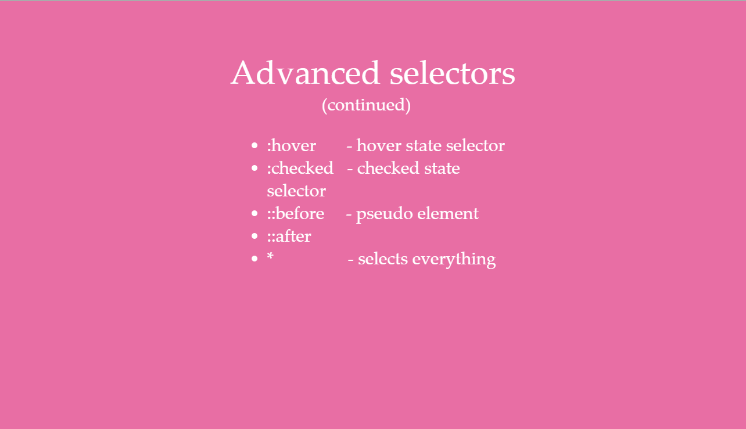
We can also select certain states of elements like :hover (when the mouse is over an element) and :checked (used to check the state of checkboxes).
There also a couple of special selectors which generate specific children of elements called ::before and ::after. For more about them, check our their Mozilla docs page (Mozilla is a great resource).
A very unique selector is the star * selector, which selects all of the elements in the context given. If we use it by itself, it will select all of our elements on the page. But try not to use this because we would rather use inheritance, meaning parents pass down certain values to their children (like text color).
There are several other selectors you should know, but the ones covered are among the most common.
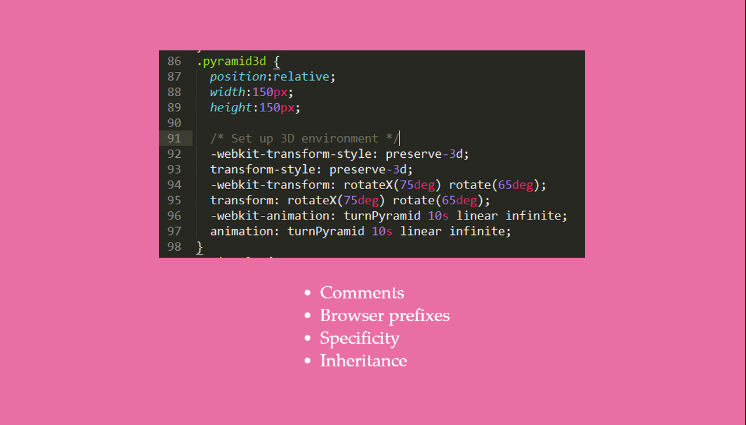
There are comments in CSS like there are in HTML but they use the form of /* Example text */.
CSS also has browser prefixes for properties (and some values) which are any parts surrounded by dashes -. These are created so that specific browsers can be selected to use certain values. Part of the reason why this is needed is because sometimes browsers don’t follow the official specifications for certain things and do things differently.
Another key term in CSS is specificity, which is what determines which property-value pair is used when more than one selector selects the same element and both try to change a particular property. The more specific, the higher weight it has when determining which to use. IDs are the most specific followed by relationships, then classes, then attributes, then any _ styling, then default tag styling, and finally any inheritance from parents. You can play around with this specificity calculator to get a better understanding of how it works.
And that’s it for CSS! Now you should be able to come across any CSS document and have a good idea of what is going on. Of course there’s a lot we didn’t cover, but google is your friend. If you feel like CSS should have a way of doing something, there probably is a way to do it.
Positioning in CSS
Positioning is one of the most important things that CSS gives us and not always the easiest to understand. As such let’s go through some of the basics.
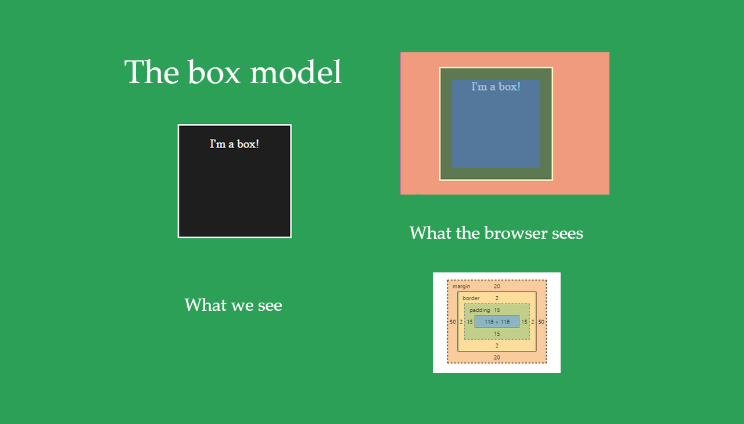
In browsers, each element is positioning using something called the box model. While we just see the final outcome, browsers break positioning down into four things: margin which is the spacing outside of an element pushing other elements away, border which is an outline of the element, padding which is space on the inside of an element to keep the content away from the edges, and the content itself. Of course, all of these things are optional but if all are omitted then the element will not be displayed and have no effect on the page.
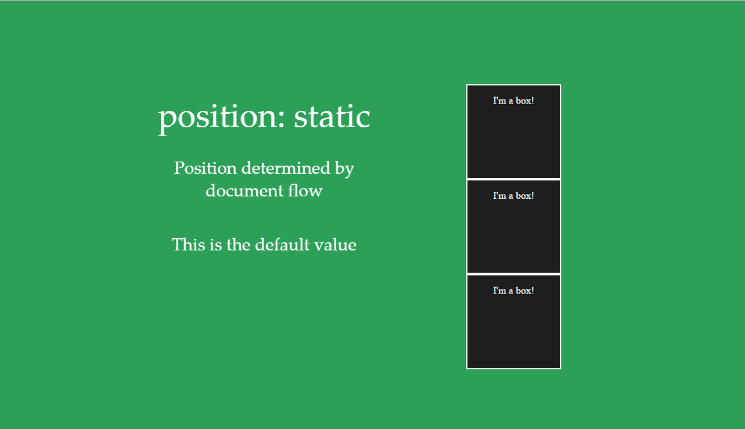
CSS has a property called position which makes elements position themselves in certain ways. By default all elements have position: static, which renders elements in order according to their position in the document (essentially our HTML). If we want them to not follow this layout, we have to specify so using another value.
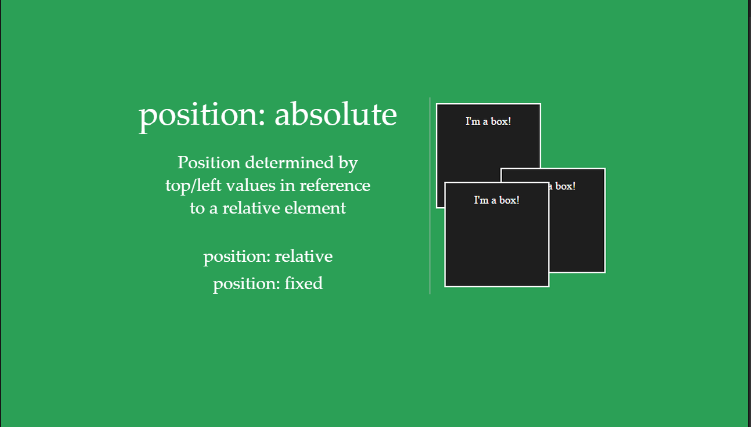
Another value is absolute, which positions elements using top, left, bottom, or right values in respect to some other element. By default the values are in respect to the page, with the top left of the page being top: 0; left: 0. We can change which elements these coordinates refer to by giving the parent of an absolutely positioned element the property-value pair of position: relative.
position: fixed is pretty much the same as position: absolute except when a user scrolls on a page, fixed elements don’t move. This means that they are always showing if they are positioned in the window.
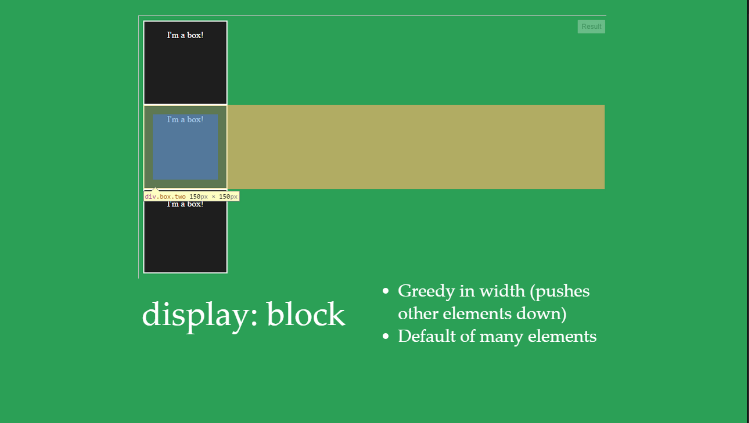
CSS also has another property called display which affects the sizing and some of the positioning of elements. Many elements have a default value of block which means that they try to push any elements to the space below them using margin.
To prevent elements from doing this, we can change the value of display to inline.
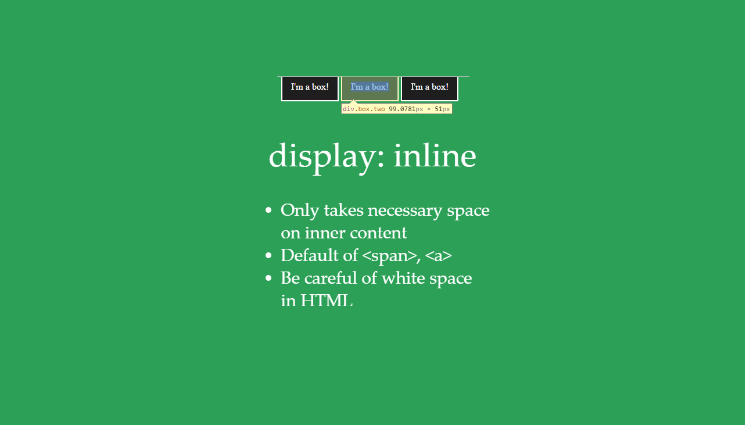
Using a value of inline, elements take up only the necessary space of the inner content (including padding). If you try to set an explicit width or height it won’t let you. This is the default value for some elements like <span> and <a>.
When using this value, be careful about white space in your markup because it may cause some extra unexpected spacing in your layout. To remove this space, you can use some tricks.
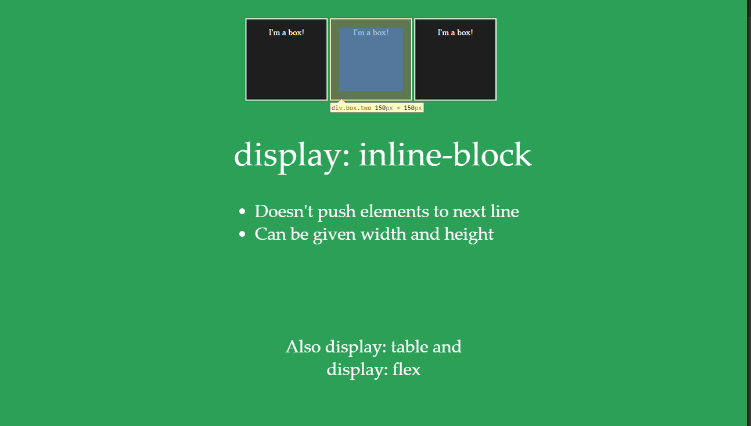
The value of inline-block is exactly what it sounds like: it combines the previous two’s behavior. It doesn’t push elements to the next line but lets you set a width and height.
There are also values of table and flex, but those are out of scope for this presentation. Just know they are there if you need them (flex is really great when you learn to use it well!).
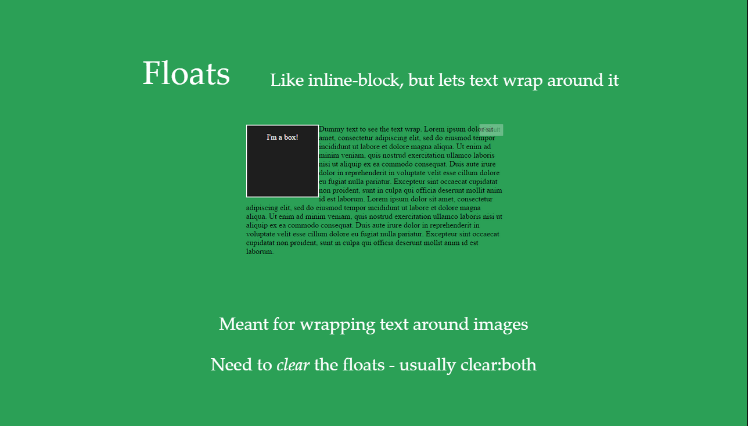
Another CSS property that deals with positioning is float which can have a value of left, right, or none. These make content go to either the left or right of its container but should really only be used for images or elements that you want text to surround. Otherwise they really shouldn’t be used very often and are abused sometimes.
A key point is that you need to clear the floats so that the parent knows how tall the floated element is. To do so, you need to place an element after the floats and give that element the property-value pair of clear: both (or just clear: left or clear:right if you want to only clear one). This technique of clearing floats is called a clearfix and you can read more about that on this SO post.
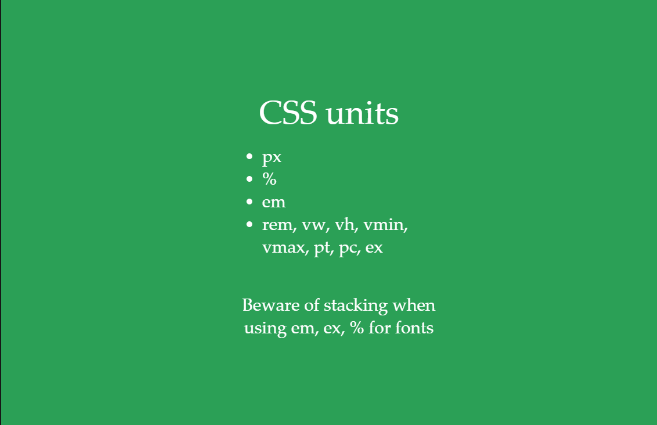
Many numerical values in CSS require units for them. By far the most common ones are px which stands for pixels, % which is a percentage based on the parent element’s value for that property, and em which is based on the font sizing (for an origin of the term and more details check outthis post). But there are many others you can use, just only use them if you really need to (I never use pt, pc, or ex though).
You should also beware of values stacking meaning if you apply something like 1.5em on a parent’s font size and 1.3em on the child, the child actually has a font size of 1.95em (1.5 * 1.3) of the original font size.
Wow. We’ve covered a whole lot in a short time. It’s okay to be a bit overwhelmed at this point. Once you get started creating some projects you’ll start to get a lot better of a grasp of this.
Other notes
Now we’re going to switch modes a bit and talk more about some general techniques instead of understanding the code formatting and such.
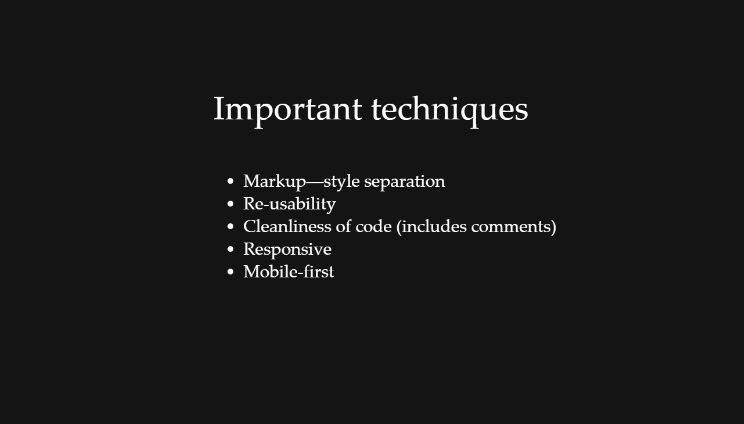
One of our goals as front-end developers is to have a markup―style separation, meaning we want to be able to change most all of the way a page looks by using CSS and not have to touch theHTMl. This allows separation of concerns to happen and gives us more freedom in the long run.
As always with programming, we want to make things as reusable as possible. That means that we try to avoid IDs, keep things modular, and use helper classes across multiple pages so that we saveourselves from redoing what we already did before. This also helps with maintainability of code.
We also want all of our code to be clean, meaning have good, consistent formatting, order, and comments explaining anything that doesn’t come completely naturally to someone reading our code.
Some more general techniques we also should follow are being responsive, meaning our website or application works across all screen sizes and devices (see this post for more information and how-to) and should generally follow a mobile-first approach.
In the end, we will never know all there is to know about front-end web programming. We run into problems daily and have to consult the all-knowing Google to find the solutions that we need.
To be a good developer means that you are also a good Googler, able to find what you need quickly on most occasions. This will come with time. Don’t be ashamed of it or let it demoralize you because everyone does it!
And we’re also here to help. The web development community has a very large sector of trying to help each other out, especially beginners. That’s the exact reason why I’m doing this crash course – I want more people to be involved! Diversity brings excellence and new ideas.
Some great resources you should use are StackOverflow which is by far the leading resource for any programming problems you may face, and GraphicDesign.StackExchange which is the same for designers.
But just like learning any skill that is worth having, it takes time to become good at it. When it comes to understanding programming, much like a learning a new instrument, the beginning is fairly rough and hard to pick up but once you get past the initial struggle and have a solid base understanding then the rest comes a lot more quickly and easily. There is something called “the gap” which is the time from when you know that something is good or bad but can’t make it until the time you are able to make something good. I wrote a post of encouragement to people in the gap which you should give a read, particularly if you’re feeling discouraged.
Next time we’ll learn the “muscles” of the web, JavaScript! That will be more along the lines of what most people think of as programming. I can’t wait!
But before we get there, I have something I’d like for you to do.
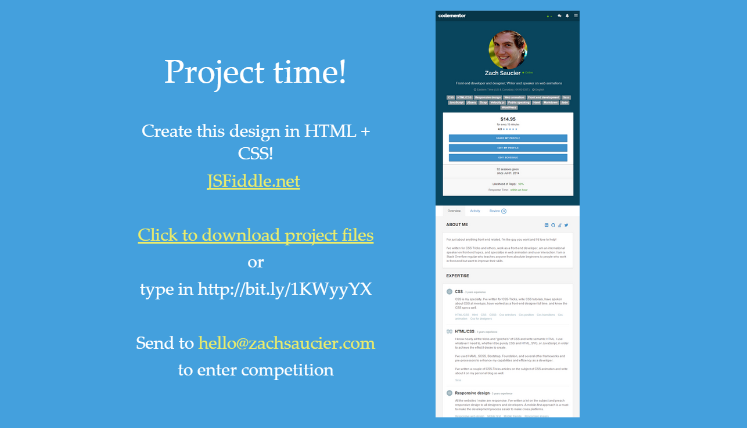
The project I’d like to have you do before next time (or before moving on to the next article) is to create the design in the image above in HTML and CSS. Feel free to change out the content with your own if you’d like. You don’t have to be perfect, but try to get it as close as you can without spending too much time on each part. If you think it’s too massive of a project, try to create just a couple parts of it. The more you practice the better you’ll become!
You can use a text editor on your computer, save it as a .html file, and open it in your browser or you can use something like CodePen.io to view your work instead.
To obtain the project files, you can click this link to download them.
I hope you have learned a lot, work on the project, and check out the next post when it’s up!
Go to part 3 (JS)